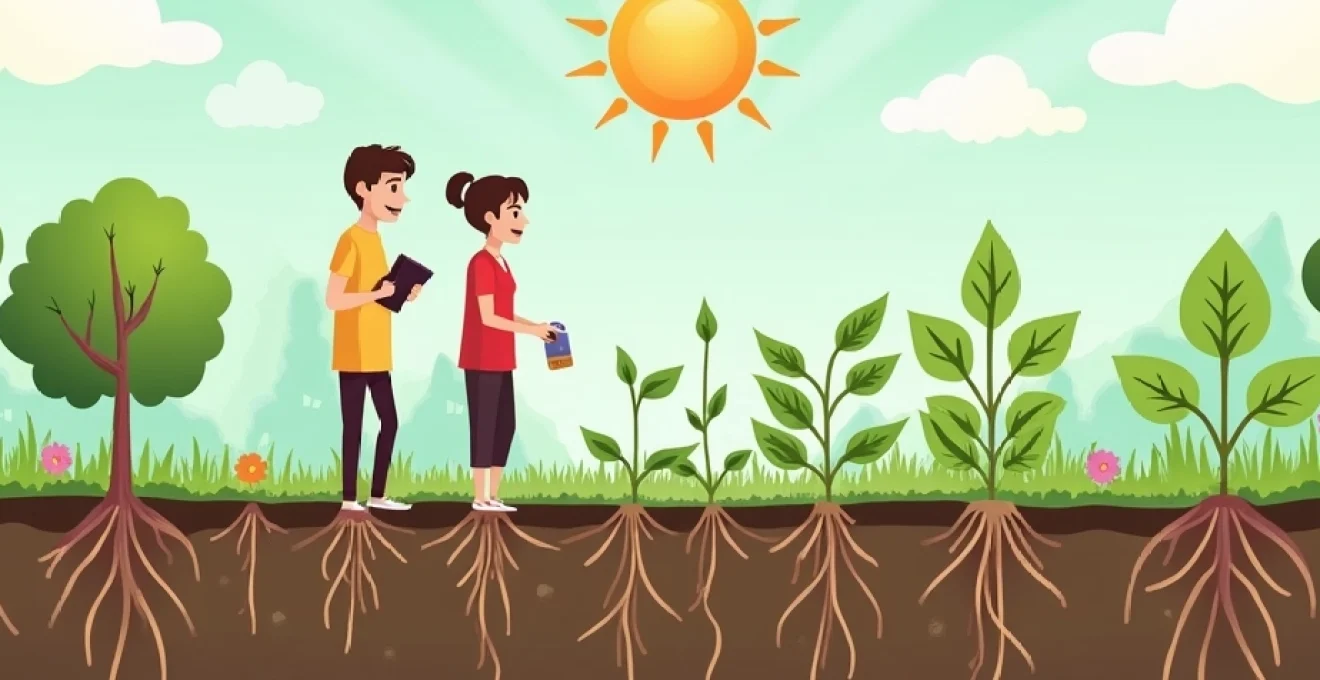
Mastering the art of seed sowing is essential for any gardener looking to cultivate a thriving and productive garden. The success of your plants begins with proper seed placement, and understanding the intricacies of timing, depth, and spacing can make all the difference between a bountiful harvest and a disappointing yield. Whether you’re a seasoned horticulturist or a budding green thumb, these expert guidelines will help you optimize your seed sowing techniques and set the stage for robust plant growth.
Optimal seed sowing timing for common garden varieties
Timing is crucial when it comes to sowing seeds. Each plant species has its own ideal planting window, which is typically determined by factors such as frost dates, soil temperature, and the length of the growing season. For most regions, the general rule of thumb is to sow cool-season crops in early spring or late summer, while warm-season crops are best planted after the last frost date.
Consider creating a sowing schedule based on your local climate. For instance, in temperate regions, you might start sowing hardy annuals like sweet peas and snapdragons indoors 6-8 weeks before the last frost date. Follow this with cool-season vegetables such as lettuce, spinach, and peas as soon as the soil can be worked in early spring.
As the weather warms, transition to heat-loving crops like tomatoes, peppers, and cucumbers. These should be started indoors about 4-6 weeks before the last frost date and transplanted outdoors once the soil has warmed sufficiently. Remember that some plants, such as root vegetables, prefer direct sowing and should be planted according to soil temperature rather than calendar dates.
Always consult a local planting calendar or extension office for specific timing recommendations in your area. Microclimates within your garden can also influence optimal sowing times.
Precision techniques for seed depth calculation
The depth at which you sow your seeds can significantly impact germination rates and seedling vigor. While general guidelines exist, several factors come into play when determining the ideal sowing depth for different types of seeds.
Soil texture analysis for depth determination
The texture of your soil plays a crucial role in determining the appropriate sowing depth. Sandy soils drain quickly and may require deeper planting to ensure adequate moisture retention. Conversely, clay soils hold water more readily and may benefit from shallower sowing to prevent waterlogging and subsequent rot.
To assess your soil texture, perform a simple squeeze test. Take a handful of moist soil and squeeze it tightly. If it holds its shape but crumbles when poked, you have loamy soil ideal for most planting depths. If it stays in a ball, your soil is clay-heavy and may require shallower planting. Sandy soil will fall apart easily and might need deeper sowing.
Seed Size-to-Depth ratio guidelines
A common rule of thumb is to plant seeds at a depth equal to two to three times their diameter. This guideline works well for many garden varieties but should be adjusted based on specific plant requirements. For example:
- Very fine seeds (e.g., lettuce, carrots): Sow at surface level or with a light dusting of soil
- Medium-sized seeds (e.g., tomatoes, peppers): Plant 1/4 to 1/2 inch deep
- Large seeds (e.g., beans, peas): Sow 1 to 2 inches deep
Light-dependent germination considerations
Some seeds require light to germinate and should not be covered with soil. These photoblastic seeds include varieties like lettuce, celery, and certain flowers. When sowing these types of seeds, press them gently into the soil surface without covering them. Provide adequate light and keep the soil consistently moist to encourage germination.
Moisture gradient impact on sowing depth
The moisture gradient in the soil can affect seed germination. Seeds need consistent moisture to sprout, but too much water can lead to rotting. In areas with high rainfall or during wet seasons, consider planting seeds slightly shallower to prevent waterlogging. In drier conditions or for drought-tolerant species, a deeper planting may help seeds access moisture more effectively.
Seed spacing strategies for maximised yield
Proper seed spacing is essential for optimal plant growth and yield. Overcrowding can lead to competition for resources, while excessive spacing wastes valuable garden real estate. Let’s explore various spacing techniques to maximize your garden’s productivity.
Row spacing vs. grid pattern planting
Traditional row planting is familiar to many gardeners, but grid pattern planting can often lead to higher yields in smaller spaces. Row spacing is typically used for larger gardens and mechanized cultivation, while grid patterns are ideal for intensive, hand-tended plots.
For row planting, consider the mature size of the plant and allow enough space between rows for access and air circulation. Grid patterns, on the other hand, space plants equidistantly in all directions, maximizing the use of available space. This method is particularly effective for square foot gardening techniques.
Companion planting spatial requirements
Companion planting can influence your spacing decisions. Some plants benefit from close proximity to others, while some require more separation. For instance, planting basil near tomatoes can improve flavor and repel pests, but it’s important to ensure that neither plant overshadows the other.
Consider the growth habits and mature sizes of companion plants when planning your layout. Tall, sun-loving plants should be positioned where they won’t shade out smaller companions. Root depth is another factor to consider, as plants with similar root systems may compete for nutrients if placed too closely together.
Thinning protocols for overcrowded seedlings
Even with careful spacing, seedlings may sometimes emerge too densely. Thinning is crucial to prevent overcrowding and ensure healthy plant development. Here’s a general approach to thinning:
- Wait until seedlings have developed their first true leaves
- Identify the strongest seedlings in each group
- Gently remove excess seedlings, leaving the desired spacing between plants
- Water the remaining seedlings to help them recover from any root disturbance
The specific spacing after thinning will depend on the plant variety. Consult seed packets or gardening guides for recommended final spacing.
Square foot gardening seed density calculations
Square foot gardening is a popular method for maximizing yields in small spaces. This technique involves dividing your garden into 1-foot squares and planting a specific number of seeds or seedlings in each square based on the plant’s size at maturity.
Here’s a basic guide for common vegetables in a square foot garden:
| Plant Type | Plants per Square Foot |
|---|---|
| Lettuce, Spinach | 4-9 |
| Carrots, Radishes | 16 |
| Tomatoes, Peppers | 1 |
| Beans, Peas | 8-9 |
Adjust these numbers based on specific varieties and local growing conditions. Remember that proper spacing in square foot gardening can lead to impressive yields from a relatively small area.
Environmental factors affecting seed sowing success
The environment plays a crucial role in seed germination and early plant development. Understanding and managing these factors can significantly improve your sowing success rate. Key environmental considerations include soil temperature, moisture levels, light exposure, and air circulation.
Soil temperature is particularly critical for germination. Most seeds have an optimal temperature range for sprouting, typically between 60°F and 75°F (15°C to 24°C) for many common garden plants. Using a soil thermometer can help you determine when conditions are right for sowing. For seeds that require warmer soil, consider using cloches or row covers to raise the temperature.
Moisture management is equally important. Seeds need consistent moisture to germinate, but overwatering can lead to rot or fungal issues. Aim to keep the soil evenly moist but not waterlogged. Using a fine mist sprayer or bottom watering techniques can help maintain appropriate moisture levels without disturbing delicate seeds.
Light requirements vary among seed types. While many seeds germinate in darkness, some require light exposure to break dormancy. Always check seed packets for specific light requirements and adjust your sowing depth accordingly. For light-dependent seeds, consider using grow lights if natural light is insufficient.
Proper air circulation is often overlooked but is crucial for preventing damping off and other fungal diseases that can decimate seedlings. Ensure adequate spacing and use fans if starting seeds indoors to promote strong stem development and reduce disease risk.
Advanced sowing methods for challenging seeds
Some seeds require special treatment to break dormancy and encourage germination. These advanced techniques can significantly improve success rates for notoriously difficult-to-grow plants.
Stratification techniques for dormant seeds
Stratification mimics the natural cold period that some seeds require to germinate. This process is particularly important for many perennial flowers and tree seeds. To stratify seeds:
- Mix seeds with moist sand or peat moss
- Place the mixture in a sealed plastic bag
- Store in the refrigerator for the recommended period (usually 4-12 weeks)
- Remove and sow as usual when the stratification period is complete
The duration of stratification varies by species, so research specific requirements for your seeds.
Scarification processes for Hard-Coated varieties
Seeds with hard outer coats often benefit from scarification, which involves physically or chemically breaking down the seed coat to allow water penetration. Common scarification methods include:
- Nicking the seed coat with a file or sandpaper
- Soaking seeds in hot water (just below boiling) and letting them cool
- Using a dilute acid solution (for experienced gardeners only)
Always handle seeds carefully during scarification to avoid damaging the embryo inside.
Pre-soaking protocols for rapid germination
Pre-soaking can speed up germination for many types of seeds, particularly large or hard-coated varieties. To pre-soak:
- Place seeds in a container of room-temperature water
- Allow seeds to soak for 12-24 hours
- Remove and sow immediately, as pre-soaked seeds can quickly dry out
This technique is particularly effective for beans, peas, and squash seeds, among others.
Vernalisation requirements for biennial crops
Vernalisation is the process of exposing seeds or young plants to cold temperatures to induce flowering. This is crucial for many biennial crops and some perennials. To vernalise seeds:
- Sow seeds in pots filled with moist potting mix
- Place pots in a cold frame or unheated area (around 40°F or 4°C)
- Maintain for 10-12 weeks
- Move to warmer conditions to continue growth
Crops like carrots, beets, and cabbage often require vernalisation to produce seeds in their second year of growth.
Post-sowing care: ensuring seedling establishment
The care you provide immediately after sowing is crucial for successful seedling establishment. This period sets the foundation for healthy plant growth and ultimately determines the success of your garden.
Watering is perhaps the most critical aspect of post-sowing care. Newly sown seeds require consistent moisture to germinate, but overwatering can lead to problems. Use a fine mist sprayer or bottom watering techniques to keep the soil evenly moist without disturbing the seeds. As seedlings emerge, gradually reduce watering frequency but increase the amount to encourage deep root growth.
Temperature management is equally important. Most seeds germinate best in warm soil, typically between 65°F and 75°F (18°C to 24°C). Use a soil thermometer to monitor conditions and adjust as needed. Heat mats can be beneficial for indoor seed starting, while cloches or row covers can help maintain warmth for outdoor sowings.
Once seedlings emerge, light becomes crucial. Ensure that your plants receive adequate light to prevent stretching and weakening. If starting seeds indoors, consider using grow lights positioned close to the seedlings and adjusted upward as they grow. For outdoor sowings, protect young seedlings from intense sunlight initially, gradually acclimating them to full sun conditions.
Fertilization should be approached cautiously with young seedlings. Most seeds contain enough nutrients to support initial growth, and over-fertilization can damage delicate roots. Wait until seedlings have developed their first true leaves before applying a dilute, balanced fertilizer.
Finally, monitor your seedlings closely for signs of pests or diseases. Early intervention can prevent small issues from becoming major problems. Remove any weak or diseased seedlings promptly to prevent spread to healthy plants.
By providing attentive care during this critical establishment phase, you set the stage for robust plant growth and a bountiful harvest. Remember that each plant species may have specific care requirements, so always refer to seed packets or reliable gardening resources for detailed guidance on post-sowing care for your chosen varieties.